If you’ve missed Part I and Part II of the creating family yearbooks series, make sure you catch up before starting Part III!
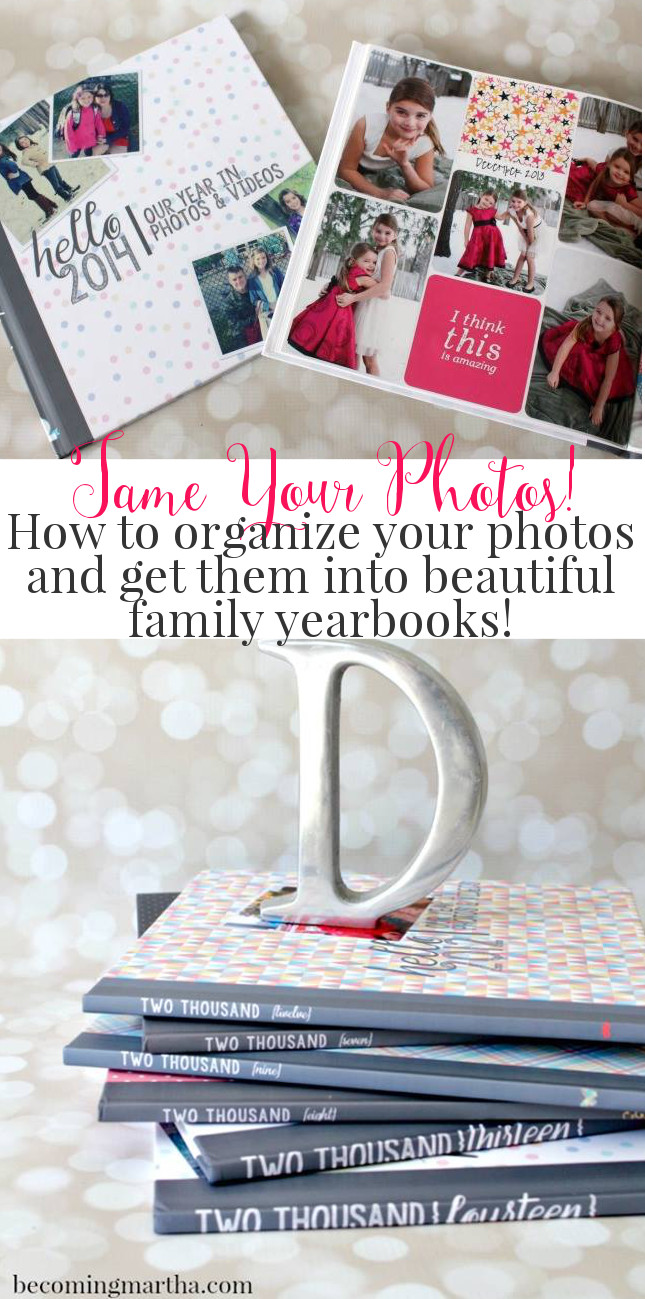
Want to create beautiful family yearbooks, but not sure where to start? This blog series from BecomingMartha.com will guide you every step of the way!

Are you excited to get started on making your family yearbooks? I am! I can’t wait to share how much I love using the Project Life app and how it changed my life when it comes to documenting my family life.
Here’s a quick background.
Early last year, I was looking for a photo to show my daughter of when she was younger. I looked through my computer, some jump drives, old albums… and I thought, “What a mess! This is bonkers!” I went through stage one of this process, organizing and condensing all of my photos in one spot. However, getting them printed was still an obstacle. I really wanted to scrapbook them, but there was just no time. The standard layouts that were available with the photobook companies didn’t fit my style. They also weren’t very flexible in their design. I tried to digital scrapbook them, but using a photo editing program took forever, because I had to resize all of the photos to fit my layouts. It took me what seemed like forever just to do a few months worth of pictures.
That’s when I came across the Project Life app. It gave me the scrapbook look that I wanted, and was flexible when it came to design. It allowed me to journal, add photos, change colors and designs, and it looked great. And when I started using the app, I realized it was super quick. You could easily make a page in 10-15 minutes, maybe even less when you get the hang of it. That was it – I was hooked.
And now I’m here to get you addicted as well. But don’t take my word for it… let’s get started so you can see for yourself!
 The Project Life App: Make a Page

Last week, we looked quickly at the Project Life app and the different tabs on the home menu. Today, we are going to focus on the teal colored tab, the Make a Page tab.

When you enter the Make a Page tab, you will see the screen above. You will notice that there are two different colors of blocks on each page – I didn’t realize at first what the colors represented, but here’s the lowdown. The teal colored spaces will use 4×6 cards, and the orange spaces will use the 3×4 cards.

Using the Layouts in the Project Life App
At first, the layouts and the card options may seem overwhelming, but here’s how I manage it. I start with my photos… so if I am working on a page for December, I will click on one of the spaces, and choose the photo icon (the one on the left, the one on the right is to insert cards).

This will bring up a page with all of the albums on your device. (For information on how to organize photos con your device, read the info on syncing photos in Part II.) I choose the month I am working on (in this case, December), and I start adding the photos.

Some photos will work better as a landscape (horizontal) photo and some are better as a portrait (vertical), so if I add it to a horizontal spot and want it in a vertical spot, I click on the outside of the page to zoom out, and then I can drag and drop it into a different block. If I run out of vertical space, I just leave it in the horizontal space for now.

Organizing Photos on a Layout or Page
It is totally up to you how many photos you want on a page – when I have big events (like birthdays), I tend to add more pictures to each page to avoid having a ton of pages just for the party.

So my party pages may often look like the photo on the top, while my regular day to day photos may look more like the photo below.
I stay on this layout until I have added all of the photos I want on this page, and I tally how many vertical and horizontal photos I have.

Once I have that number, I click on the layout option in the top left corner. This will bring up the layout options that are associated with your account. There are extra options available to purchase (I have purchased all 5 packs of the extras) but there is still a good selection of layouts that are included with the app. I look through the layouts for one that fits my needs – for instance, in the photo above, I need 4 horizontal spots, and 4 vertical spots, plus a space or two for journaling and/or titles. I also keep in mind if square spaces will or will not work.

Once I find a layout that fits my requirements I select it, and then adjust my photos if I need too. Sometimes I have to try two or three options before I find the perfect one, but it saves me from going through a ton of options that just won’t work.
Adding Journalling Cards to Project Life Pages
The second half of creating the page is inserting the journaling cards (I’m using the Playful kit here). For my page above, I would like a title card, because it’s the first page in December. I always write the month on the first page. I also want a journalling card so I can write a about what’s happening. You might want a filler card (the ones with the cute pictures and quotes on them). I tend to use a lot when I do spreads (two pages on the same thing – one page will have a journaling card, where I write about what’s happening, and the other page will be a filler card).

As I mentioned earlier, the orange spots are designed for 3×4 cards. The teal spots are designed for 4×6 cards. Title cards, which I use at the beginning of every month and almost any time there is a major event that takes up two or more pages, are only available in a 4×6 format, but sometimes I want them in a 3×4 spot. There is a way you can work around this, which usually works.
Rotating and Changing the Journalling Cards
Place one of your 4×6 photos into the 3×4 spot temporarily. Then, choose the journaling card icon in the now empty 4×6 space. Choose the title card you would like, click on the outside of the layout so it zooms back to the whole page, and then click on the title card and drag it into the 3×4 space.

The photo will go back to the 4×6 space, and you will have a title card in the 3×4 spot. I say this usually works, because sometimes it won’t rotate properly. 9 times out of 10, it rotates fine, or offers an option to rotate. You will also notice that there are different card options or horizontal and vertical cards. If I want a certain card that is only available in a 4×6 vertical format, I will change my layout to one that has that type of space, add the card, and then switch back to my original layout, and the card will remain. This part takes a little playing around with, but it’s an option if you want to try it out as you delve deeper into using the app.

Adding Text to Journalling Cards in Project Life App
Once you have the journaling cards in place, add your text by clicking on the pen icon. There are a lot of cute handwriting fonts available. You can change the text color to match the color of the kit you are using. You can also change the alignment, the vertical offset (how close it is to the top or bottom), and the size of the font.

Once you have added your text, you’re done your first page! Wasn’t that easy? And just think, that was your first one! It only gets quicker and easier from here!
Project Life Planner Pages
Last week, I shared these planners with you and promised to tell you more about how I use them, so I want to touch on that quickly before I go. (If you didn’t download them yet, you can click the images below to download the planners – I save them and print them double sided, so I only have to keep one piece of paper.)


I like to do my pages in spreads. That means I want the page on the left side of my book to coordinate with the page on the right side. If I have two pages from the same party, I want them to be opposite each other, and not on the front and back of a page. I keep this little organizer while I am working on a book, and it helps me visualize all of the pages as a book.
The first and last pages of the book are a little different because they don’t have another page opposite of them. That’s why I place them apart. I usually add my video pages to one of these (we’ll get into videos next week). Then, I start filling in the pages as I create them. If January ends on the left page, I fill in the first page of February on the right hand side of the first block. Make sense? I posted a picture of it on instagram last week, if you follow me!

And that’s it for this lesson! Even though it’s a long post with a ton of photos, it’s really easy. I know you’ll get it in no time. So use this week to create some pages and when we meet again next week, I’ll show you the quickest and easiest way to put them together in a family yearbook!

Kim says
I was wondering how you get your pages into a printed book and how much they cost. I read that you can print your own pages but I’d rather have them in a bound book. Does project life have their own printing company or do you send them to one online like Vistaprint or Shutterfly?
Sarah says
Hi there – I upload my pages through the Shutterfly app 🙂 If you follow the rest of the series (search “photobooks” on my website) I walk you through the whole process!
Lisa Djerf Breitbach says
How do I see organizing part 1 & 2?
Susan Rew says
What did you use to get your photos into your computer? A scanner or a scan app or something else?
Sarah says
Hi! We actually had so many that we had someone who provides digital solutions scan them for us. If you dont have anyone similar local, I think places like Staples do it as well.