This felt wreath is a perfect addition to any fall home decor or front door! Cutting all of the felt with the Cricut Maker simplifies the task, making it a quick project that’s easy to complete.

Fall Felt Wreath Made With Cricut Maker
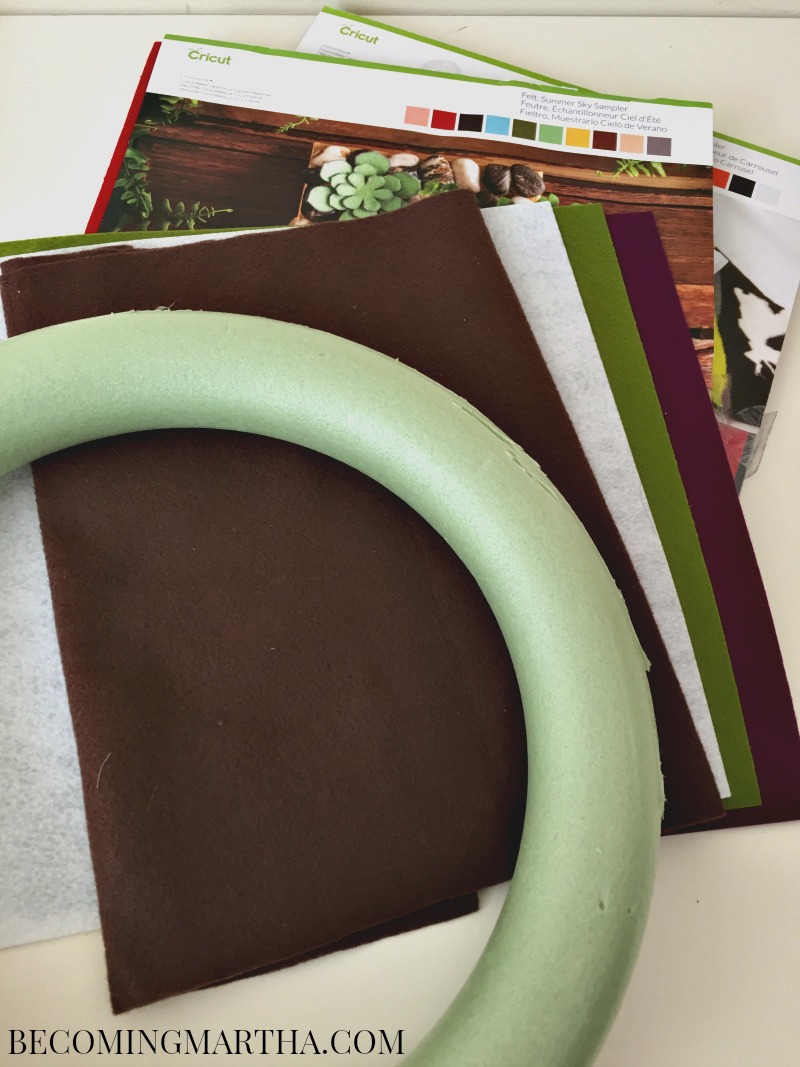
Here’s what you need to make a felt wreath (I’ve used affiliate links below to share the products I used):
- a 14″ wreath form
- 4 12″x12″ pieces of felt
- dress pins (in the Cricut Sewing Kit)
- rhinestones, gems, etc.
- hot glue
- Cricut Maker

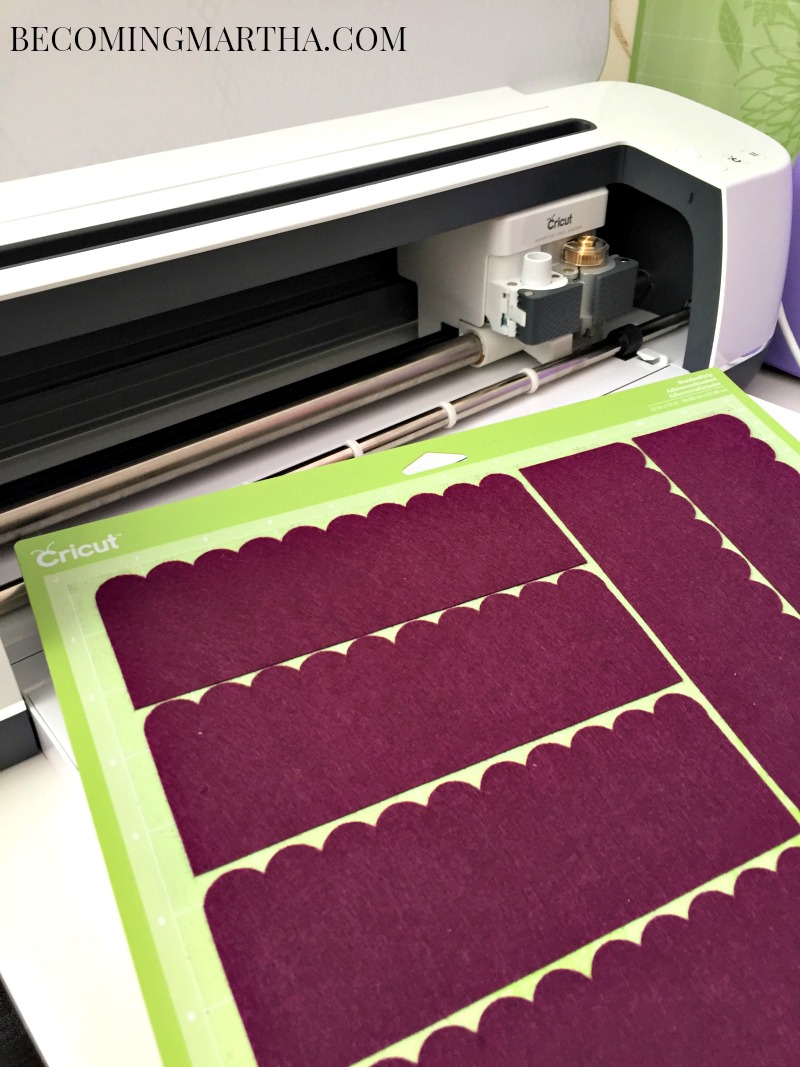
To get started, open Cricut Design Space, and do an image search for “scalloped”. I used the blue image shown at the bottom of this image above, and if you click the “i” icon, you will see that it is called “Scallopped Border #M41C8F”.

It wasn’t the right size, so I changed the width to 6.75″. I love the ability to type the measurements now (in the top tool bar) rather than having to drag it to size.

Next, I copied the border (because I wanted smaller scallops), placed them right next to each other, and then welded them together. The image will be too long, so once again, I sized the width down to 6.75. The height should be around 0.75″.

Next, use the shape button to insert a square. Unlock the dimension ratios (click the lock in the bottom left of the shape) and resize it to the same width as your border (6.75″) and 1.5″ tall.

Line it up with your scalloped edge, select all three layers, and hit weld (bottom right hand panel).

Once I have my piece, I copy and pasted it 7x and arranged it to fit on a 12×12 sheet of felt, ctrl+A to select all, and attached them so it would cut in the same layout.
I repeated this four times, one for each color that I used.
Assembling the Felt Wreath

My house has full sun exposure so hot glue tends to melt, and I try to use as little as possible. Instead, I used dress pins (which actually came in my Cricut sewing kit) to pin the felt around the wreath. This also allows me to reuse my wreath several times, as you can see by how beat up this one is!

In the image search, type “3D flowers”. The images above are the ones I used. I cut the flower in various sizes from three colors of felt. I used the green felt from my wreath to cut the leaves.
Place a little hot glue on the tab, and fold to create dimension. Layer various sizes, and place a rhinestone or gem in the middle. I adhered the flowers and leaves with hot glue.

And honestly, that’s all there is to it! Isn’t it stunning? This would be so much work without the Cricut Maker – not impossible, but definitely much more work.
If you loved this wreath, you may want to check out my other wreaths, including last years fall wreath.
Let’s Chat – have you cut felt with your Cricut Maker yet? What did you create? I would love to see! You can join my Create with Cricut group on Facebook and share all of your Cricut projects. I can’t wait to see what you create!
This is a sponsored conversation written by me on behalf of Cricut. The opinions and text are all mine.
[…] Felt Wreath […]