This DIY Pendant Tray Necklace makes a great gift and can be created in under 15 minutes – how’s that for quick gift giving?!

DIY Pendant Tray Necklaces

Here’s what you’ll need:
To start, think about the quote or verse you would like on your necklace. We were making these as Christmas gifts for the girls youth group leaders, so we went with their favorite Bible verses or lines from songs (such as Hillsong’s “Oceans”).

Once you have your verse, find a background that you like – I went with an ombre blue for the song from oceans and a floral border for the Proverbs 31 verse. You can find tons of options by doing a google search for “floral border” or “ombre watercolor”. (Please click through to the actual page and make sure you are following the terms of use before using, especially if you plan to make these for sale.)
Designing Your Pendant Tray Necklace
Make sure your file is large enough to print without being blurry – so if your tray is a 2″ circle, you will want to make sure your background is 600 pixels wide, so that it will print at 300 dpi (dots per inch, which means it will be crisp, and not blurry or pixellated.) You could also use another style of background such as a geometric or marble print, or you could even just use a single graphic image, like I will be showing below.

After saving the background to your computer, open a window in your favorite photo editing software. I use PicMonkey, but they recently starting requiring a subscription to use their program. I paid because I love it for quick edits and didn’t want to learn another platform. You can also use canva, GIMP (a free photoshop alternative), photoshop, or even illustrator.

Create a document that is the same size as your pendant tray. So for the 2″ circle, make a square that is 600 pixels on each side, allowing it to print at 300 dpi resolution. Draw a circle that fills the whole area.

In Pic Monkey, I am using overlays to create a circle, and after I have drawn it, I change the outline to black and the center to transparent so I can layer backgrounds under it and keep the circle shape as a guide. For a rectangle or square tray, you wouldn’t need to do this step, because your canvas will be the same size and shape as your pendant already.

Open your background or image (by using overlays again if you are in Pic Monkey). Size and align it whichever way you prefer. You can also fade it, or make it more transparent, if you would like it to be lighter. You can even do a background and a graphic, depending on how much space you take up with text.
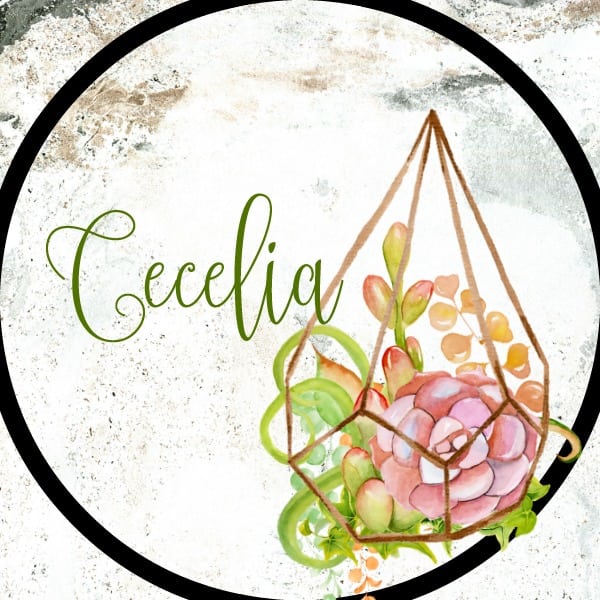
Once you have your background and/or graphics in place, add text. I’m just going to add my daughters name to this one, but you can obviously add whatever you like.
Printing A Design for Your Pendant Tray Necklace
Save your design, and then print onto printable vinyl. (I like to do a test print first, to make sure the printer isn’t skewing the measurements. You could also open a blank word document, insert your image, and make sure it is scaled to the correct size.) Cut out your design, peel away the backing, and stick onto your pendant tray. Top with the epoxy sticker, and voila! Your pendant tray necklace is complete.

Aren’t they beautiful?!
For another easy gift idea, check out these DIY Blanket Scarves. They make a great teacher or coach gift and are super stylish!
Angie Holden says
What a great gift idea! Thanks for joining!
Jessica says
These would make beautiful gifts!