Learn how to use contour tool and slice tool in Cricut Design Space to customize images that already have welded layers.

Sometimes you find a really awesome image in the Cricut Design Space that you really love, but it’s not exactly how you want it.

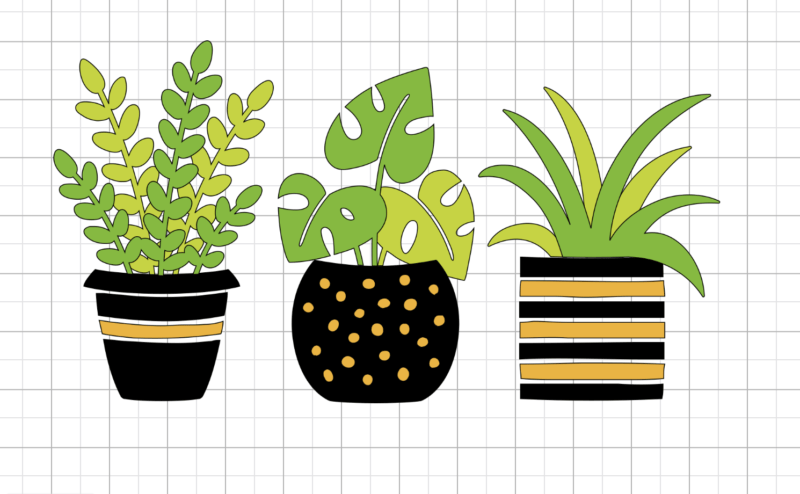
For instance, I love this image from the Damask Love t-shirt collection, but I didn’t want the text, and I wanted the pots to be multicolored.

However, the image only had three layers – one with each color. I couldn’t separate the pieces to make them a different color, or just delete the text. So I had to do a little bit more work – but it was an easy fix once you know how.
How to Use Contour Tool and Slice Tool to Edit Welded Images & Layers
I decided the easiest way to show you was to shoot a quick video! I don’t shoot video very often, but I knew in this case, it would be much easier than trying to explain it all.
See, that’s totally doable, right? You can customize the images so much once you learn to use the tools. Here’s the finished design:
If you love this design, and just want to use it as is, you can grab it here: Beleaf in Yourself Edit.
Here’s the basic rules that I use:
- If it’s off to itself, and not close to any pieces you want to keep, use the SLICE tool (i.e. the text in the image above).
- If it’s close to other pieces that you want to keep, duplicate the image, and use the CONTOUR tool (i.e. the stripes and dots of the planters).

To see the project I created with this design, you can view it in this post, where I share why I love my Easy Press 2 so much!
For more Cricut Tips, check out these posts:
Cricut Design Space Quiz
How to DIY a Quilt with Cricut Maker
How to Layer Vinyl
Cricut Maker FAQs
All About the Maker’s Knife Blade
This is a sponsored conversation written by me on behalf of Cricut. The opinions and text are all mine.
[…] I used the contour and slice tools to switch up different elements of this welded image, you can click here. I even made a quick video that walks you through the entire […]