How to Make Stickers with Cricut, Printable Vinyl, and Watercolor Paint using these cute Camping themed SVG files that you can grab for download!

DIY Watercolor Stickers: The Supplies
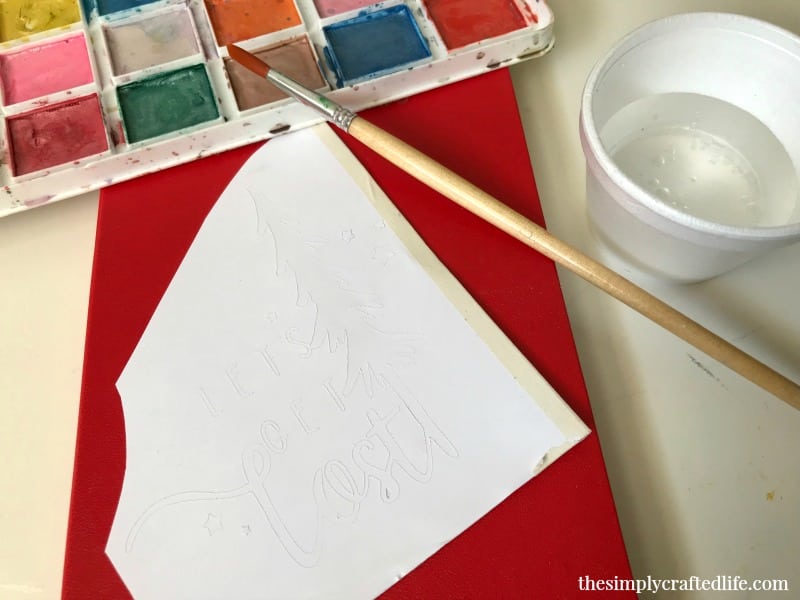
Here’s what you will need to create your own (affiliate links included for shopping ease!):
- Cricut printable vinyl
- Camping themed SVG files – can be downloaded from my shop here
- watercolor palette (I used one with a metallic sheen)
- transfer tape
- paint brush and cup of water
To start, upload the design to Cricut Design Space (if you are unsure how to upload SVGs, this post will help). Choose the elements you want to keep in your design, select all, attach the layers, and then hit Make It!
I used a light mat for the printable vinyl, as it is really thin. Once cut, I started painting with my watercolors.
DIY Watercolor Stickers: The How To

I used green and gold/brown tones and just dabbed them on. You guys, there is literally no skill required here. I just dabbed it on with my brush, and swirled it around a bit where the two colors met.
Let it dry well before you use transfer tape, as some of the paint will stick to the transfer tape.

Place the design on a notebook, or bag, or whatever you are placing it on. Use a brayer to make sure it is adhered, then pull off the transfer tape.

That’s honestly all there is to it. I decided to place it on a kraft notebook after all (I just peeled it off the navy book and stuck it right back on to the kraft one).

If you aren’t looking for a camping themed SVG, you can find lots of other great SVG files over at my shop. You can also join my Cricut loving group over at Create with Cricut. Hope to see you over there!
[…] removable or permanent vinyl to stick the designs on the front of a notebook, planner, or […]